In previous post we discussed about various ways of solution deployment and the types of solutions. Let us see how we do it actually.
Here we are looking at the manual solution deployment
In the source instance, go to solutions

Click on Create new solution

Enter the details like display Name, Name, Publisher and version.
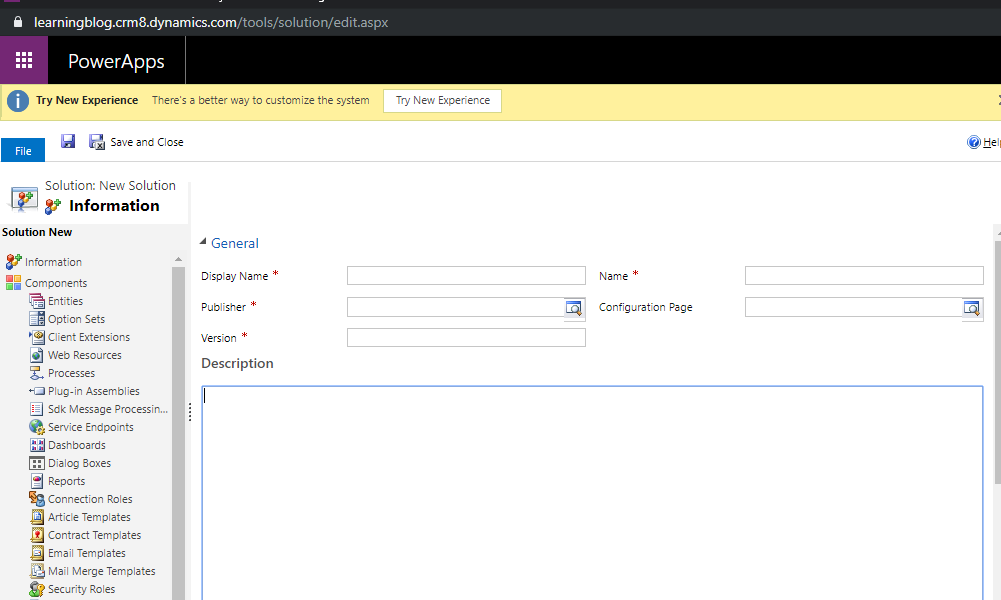
Either we can select existing publisher or create a new publisher. Publisher defines the prefix for the customization which is “new_” by default and we can change based on our strategy. In case we are ISVs and want to distribute this solution to multiple clients, we can define the prefix as per our decision. Even in multi vendor implementations, different vendors can create separate publishers or use common as per client’s guidelines.
To create a new publisher, go to settings, Customization and click on Publishers

Click on New

Enter the required details, importantly prefix and save and close.

After selecting the publisher, enter other details about the solution

Once the solution is created, we can either add new components or existing components and do the customization 
Finally we need to publish all customizations 
After the publishing the customizations, now we can export the solution

When we export the solution, it again asks for publishing, we can click on Next button

We can select the export settings as mentioned below and click on Next button

Here it asks if we want export Managed or Unmanaged. Unmanaged is by default selected and we have to explicitly select Managed and click on Next button

It will download the zip file of the exported managed solution. Now we need to open the destination instance. Go to Advanced settings
Go to solutions, click on import

Browse and select the recently downloaded file solution zip file

Click on next
It will show import successful message. In case there are any errors, we can download the log file and verify

We can check in the destination instance if our customization is getting reflected.
After basic solution deployment, let us see patch deployment in further post.
Happy deploying !!
