Power BI and D365 CE Connectivity – part 2

In last post, we have seen how to generate the fetchxml which can be used in Power BI for fetching the data from Dynamics 365 CE views. However the basic question of how to connect is still not discussed :). Let us do that connection in this post.

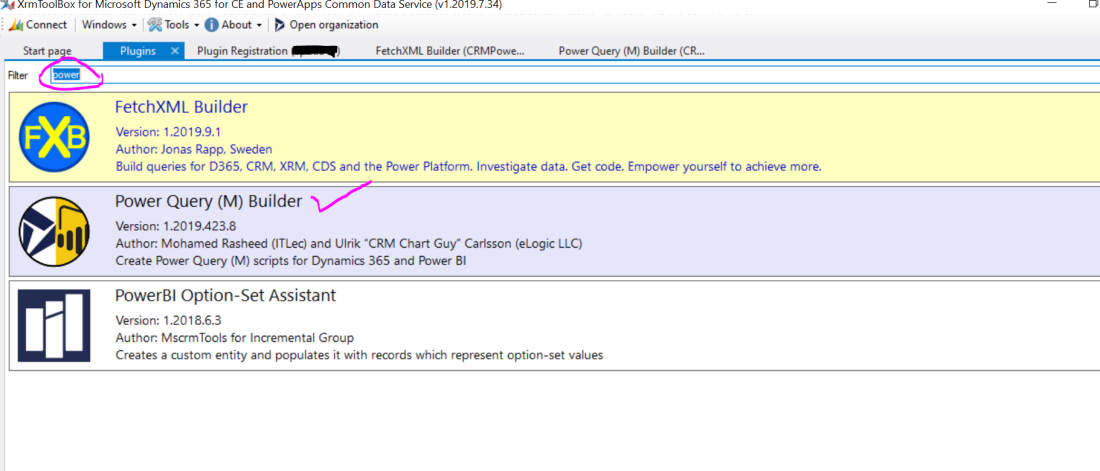
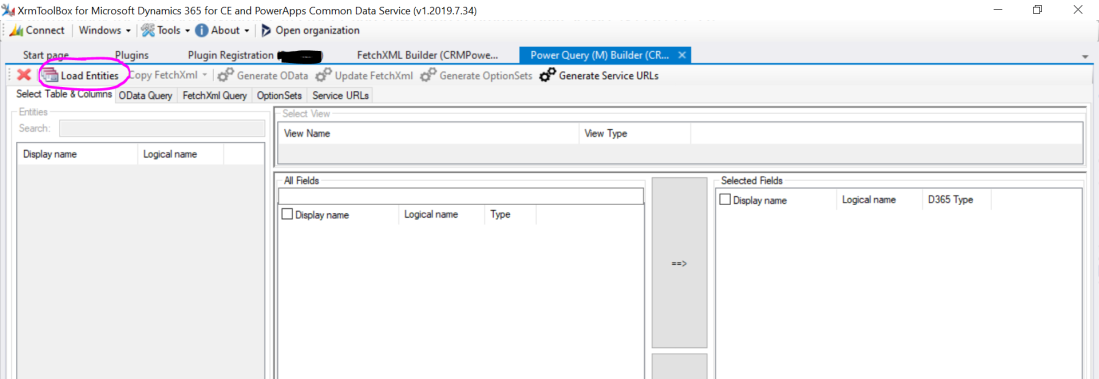
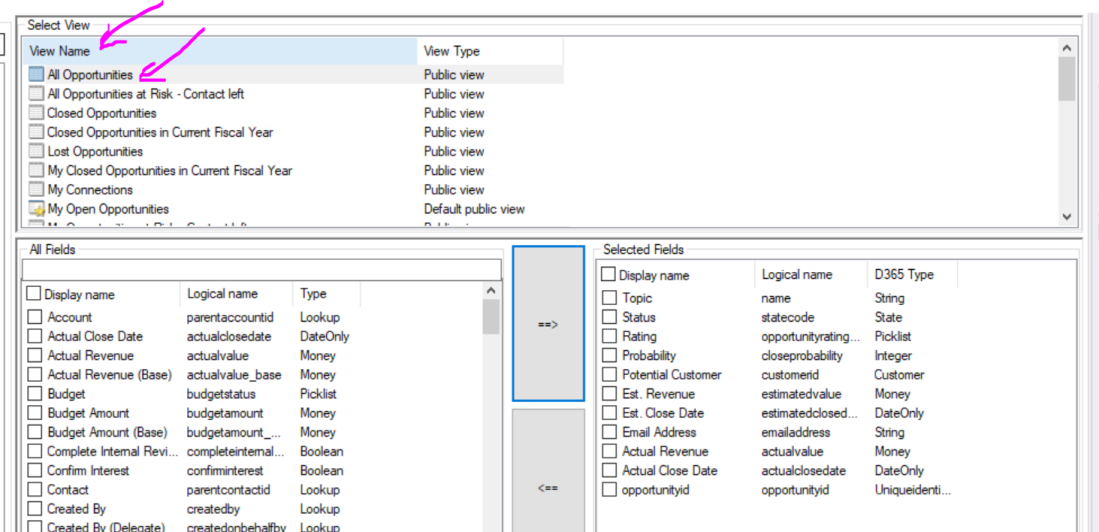
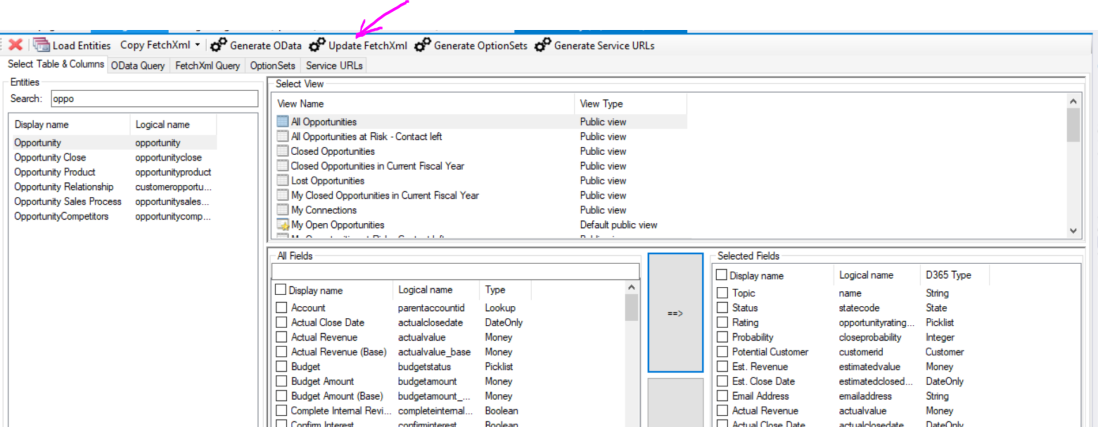
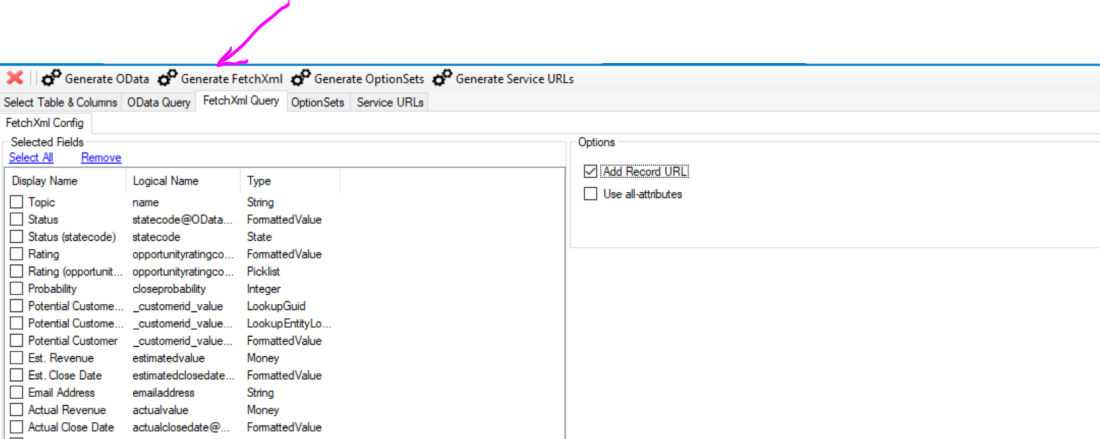
Let us again go to XRM tool box and open Power Query(M) Builder and click on “Generate Service Url”. As the plugin is already connected with the target CRM, it will generate the service urls which can be used in Power BI for connectivity.

Generate Service URl
Generate Service URLs

We can see the two tabs under Service URLs

Dyn365CEBaseURL: is the actual URL which we use in browser to open the CRM

Generate Service URl1
Dyn365CEBaseURL

ServiceRoot URL: is API URL as shown in  below snippet.

Generate Service URl2
ServiceRootURL

Once we have these URLs, let us create the blank queries in Power BI desktop. Click on Getdata and click on Blank query.

Blank Query
Creating Blank Queries

Go to Advanced Editor

advanced Query editor
Advanced Editor

Copy the Dyn365CEBaseURL generated above and paste in advanced editor

advanced Query editor1
Paste Dyn365CEBaseURL
advanced Query editor2
Added Dyn365CEBaseURL

Rename the Query as Dyn365CEBaseURL

advanced Query editor3
Rename the Query as Dyn365CEBaseURL

Similarly create one more blank query and name it as ServiceRootURL and paste the ServicerootURL created in above steps in advanced editor.

advanced Query editor4
ServiceRootURL

We have both the queries ready for the data connectivity. Now let us create few more queries for fetching actual data.

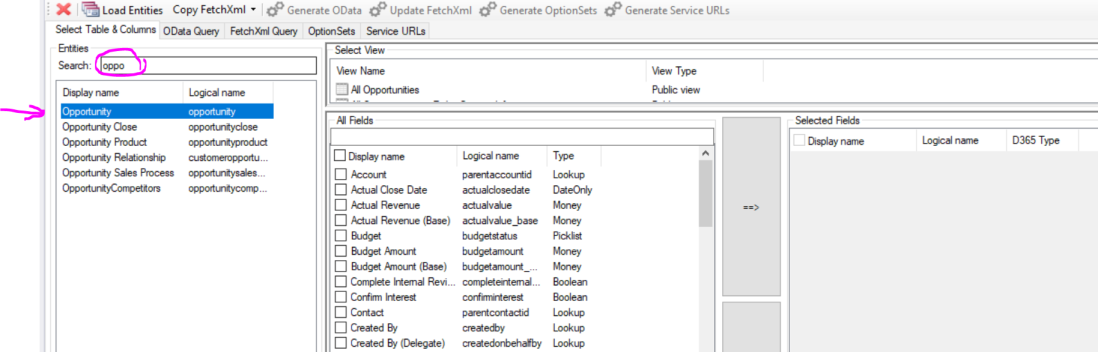
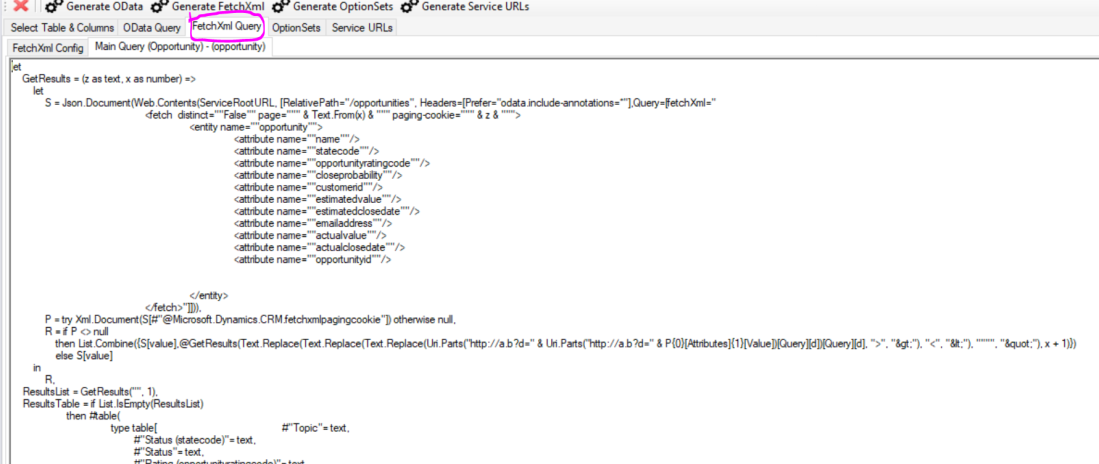
Create one more blank query and paste the fetchxml generated in earlier post in the advanced editor. I have named the query as Opportunity View.

opportunity view editor
Opportunity View

On Similar lines we can go ahead and add additional queries for different data , for ex Account data , I have added Account view.

Once we add these views, Power BI desktop might ask  to re authenticate and ask to enter the credentials. Once we connect and create these basic queries, we can go ahead and create various reports as usual in Power BI.

Refer my earlier posts to know more about data modelling, creating reports and dashboards

Continue reading “Power BI and D365 CE Connectivity – part 2”

Power BI and D365 CE Connectivity – part 1

It’s been long time and I was looking for writing something about Power BI and Dynamics 365 CE connectivity. In my earlier posts we have seen connectivity between Power BI and Microsoft Navision using content packs. Its high time to discuss about the Dynamics 365 CE and Power BI.

There is a very basic way of connecting to Dynamics 365 CE from Get Data  functionality where I can select the D365 online and directly select the entity to which to connect to. However practically it may not be useful to connect to single entities at a time and create entire data model from scratch.

As D365 CE technical associates or even functional associates, we are very comfortable with fetchxml and “Advanced Find”. Hence we it would be easy for us to create required views in D365 to get specific data from CRM entities and the use those in Power BI for reporting or dashboards. Sounds interesting hmm 🙂  So lets see how to achieve that.

Again XrmToolBox comes to help us, one of the favorite tool as CRM consultants! We just need to install Power Query Builder plugin  as shown in below snippet

Power Query BUilder
Power Query (M) Builder

We can just search with word “Power” and get this plugin. We have to install this plugin and open this plugin connected with the target D365 CRM organisation.

Once this plugin is connected with this target CRM organisation,  open the plugin and click on Load entities as shown in below snippet

Load Entities
Load Entities

It would list all the entities in that CRM instance and we can search required entity  as shown in below snippet.

Load Entities 2
Search option

Let us search opportunity entity here and look at the views for this entity

Opportunity Entity
Search Opportunity and look at views

Let us select the All Opportunities view  for learning purpose. We can actually create complex views based on our requirements to the extent of CRM out of box capabilities.

Opportunity view
All Opportunities view

As soon as we select the view, the below section showing the list of fields would be refreshed and fields selected in the view would be shown in  right bottom section. We can still go ahead and add /remove fields as required using the buttons ==> or <==. Now lets generate the fecthxml for this so click on  Update fetchxml button.

updatefetchxml
Update Fecthxml

We will get list of fields in the fetchxml as shown below

fetchxmlconfig
Fetchxml config

Let us check the checkbox Add record URL to get the record url of the record so that if user wants to navigate to the particular record, this url can be used .Add record URL

Once we are firm that this data we want to use in Power BI, click on generate fetchxml button.

generatefetchxml
Generate Fetchxml

We can get complete fetchxml which can be used in Power BI

fetchxml query

How to use this fetchxml in Power BI and how to actually connect to CRM from Power BI, let us see in my next post.

Happy analyzing CRM data in Power BI 🙂

Continue reading “Power BI and D365 CE Connectivity – part 1”